
Is your KitchenAid side-by-side refrigerator struggling to keep your food cold or running constantly? The culprit might be dirty coils. Cleaning them is a simple task that can dramatically improve your refrigerator’s efficiency, extend its lifespan, and save you money on energy bills. This guide provides a step-by-step walkthrough, common mistakes to avoid, Why Clean Your Refrigerator Coils?
Your KitchenAid refrigerator coils are located either at the back or bottom of your unit. Their job is to dissipate heat, allowing your refrigerator to maintain the proper temperature. When these coils are covered in dust, pet hair, and other debris, they can’t effectively release heat. This leads to a chain reaction of problems:
- Improved Efficiency: A clean refrigerator runs more efficiently, using less energy.
- Longer Lifespan: Overworking the compressor due to dirty coils can shorten the lifespan of your refrigerator. Regular cleaning reduces this strain.
- Food Safety: Inefficient cooling can lead to food spoilage, increasing the risk of foodborne illness.
Is Your KitchenAid Due for a Cleaning?

How do you know when your KitchenAid side-by-side needs a coil cleaning? Look out for these signs:
- Signs of Overwork: The refrigerator runs almost constantly and feels warm to the touch.
- When to Clean: Aim to clean your refrigerator coils every 6-12 months, or more often if you have pets or live in a dusty environment.
If you spot these signs, it’s time to act. If DIY repairs feel overwhelming or you’re unsure where to start, let our experts handle it for you. Contact our service today!
Safety First!
Before you start cleaning, safety is paramount:
- Power Off: Unplug the refrigerator from the wall outlet. This is essential to prevent electric shock.
- Gather Supplies: You’ll need a vacuum cleaner with a hose attachment and brush nozzle, a soft brush or duster, gloves, and potentially a damp cloth for stubborn dirt.
Step-by-Step Cleaning Guide
Now, let’s get those coils clean!
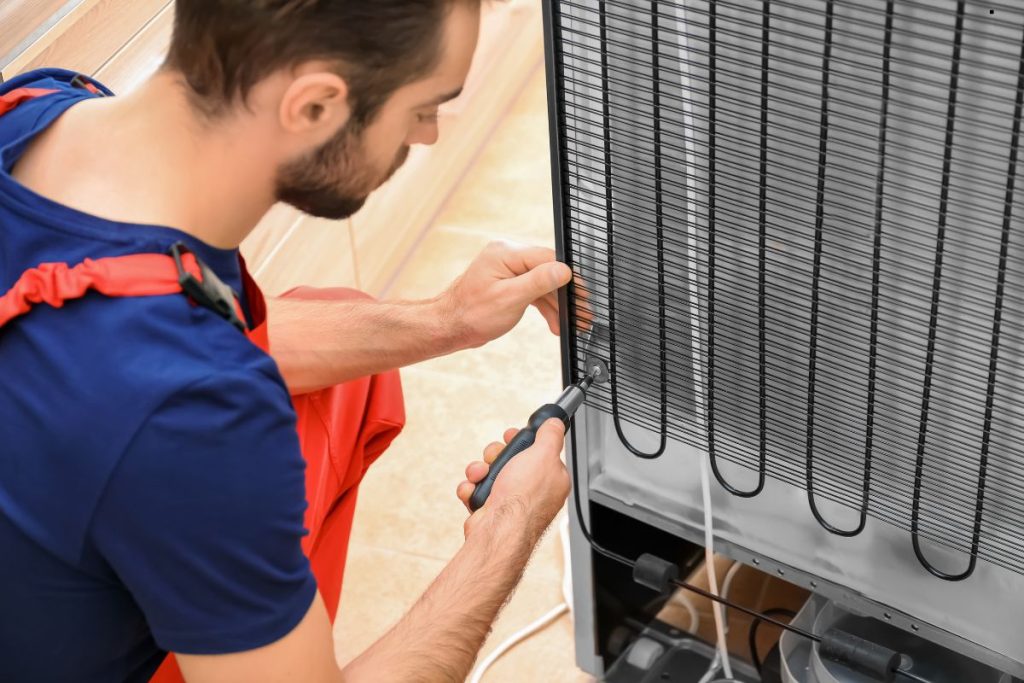
- Locating the Coils: Most KitchenAid side-by-side refrigerators have the coils located at the back of the unit, behind a cardboard or metal panel. Some models have them at the bottom, behind a grill. Consult your owner’s manual if you’re unsure.
- Vacuuming the Coils: Use the vacuum cleaner with the brush attachment to gently remove as much dust and debris as possible from the coils. Work in small sections and be careful not to damage the delicate fins.
- Stubborn Dirt Removal: If vacuuming alone doesn’t remove all the dirt, use a soft brush to loosen any remaining debris. You can also lightly dampen a cloth and gently wipe the coils. Avoid using excessive water.
- Power On and Monitor: Once the coils are clean and dry, plug the refrigerator back in. Monitor its performance over the next few hours to ensure it’s running efficiently.
Want to level up your cooking skills, troubleshoot range issues, and keep your Reno kitchen safe? We’ve got you covered! This guide offers essential oven and range tips, from managing temperature fluctuations in our unique climate to expert cleaning methods and key safety practices. Keep your appliances running smoothly and make every meal a success. Check out our expert tips.
Common Mistakes to Avoid
Avoid these common pitfalls when cleaning your refrigerator coils:
- Using Wrong Tools: Don’t use harsh chemicals or abrasive cleaners, as they can damage the coils.
- Neglecting Safety: Always unplug the refrigerator before cleaning to prevent electric shock.
- Over-Cleaning:Too much water can harm your refrigerator’s electrical components. Use a damp cloth sparingly for cleaning. Call us for expert assistance!
Unplug the Refrigerator for Safety

Before you start cleaning your KitchenAid side-by-side refrigerator coils, always unplug the appliance to eliminate the risk of electrical hazards. Working on the refrigerator while it’s still powered can be dangerous, as it increases the chance of electrical shock and may also lead to damage to sensitive internal components. Unplugging the fridge ensures a safe cleaning process while helping to maintain the longevity of your appliance. Additionally, turning off the power prevents accidental short circuits or malfunctions that could arise from dust or moisture interfering with electrical connections. Taking this simple precaution not only protects you but also keeps your refrigerator running efficiently for years to come.
When to Call a Professional
While cleaning refrigerator coils is a relatively simple task, there are times when it’s best to call a professional:
- Major Repairs Needed: If you notice other problems with your refrigerator, such as a faulty compressor or refrigerant leak, contact a qualified appliance repair technician.
- Difficulty Locating Coils: If you’re unable to locate the coils or are uncomfortable removing the access panel, a professional can help.
- Electrical Concerns: If you’re unsure about handling electrical appliances, it’s always safer to leave it to the experts. Call us for professional assistance!
Maintaining Clean Coils
Preventing dust buildup is key to keeping your refrigerator running efficiently:
- Regular Checks: Visually inspect the coils every few months and clean them as needed.
- Preventative Measures: Vacuum the area around the refrigerator regularly to minimize dust and pet hair.
Conclusion
Keeping your KitchenAid side-by-side refrigerator coils clean is key to maintaining efficiency, extending its lifespan, and preserving food safety. Follow these simple steps to keep it running smoothly and reduce energy costs. Need assistance? Contact us today!.